

China Insert Molding Service
Insert molding places a separate component in the mold before plastic is formed around it. Your RFQ has to settle whether you supply the insert or we source it, how it is located, what retains it and how the finished part is tested.
- Send the plastic-part CAD and the insert drawing.
- State the resin, insert location tolerance and functional load.
- If you supply the inserts, add material, finish, lot ID and incoming criteria.
- In-house production
- ISO 9001
- 24h quote response
- 80+ countries
What to define before an insert molding quote
Jump to the insert, tooling or inspection question you need to settle first.
Insert Molded Parts
What the insert has to do
Insert Responsibility
Who buys, checks and stocks inserts
Insert Geometry
Locating, load and retention features
Positioning and Retention
Orientation, anti-reversal and load tests
Tooling Strategy
Holding the insert through the shot
Molding Production
Insert control from loading to lot
Insert Inspection
Interface checks and functional tests
Quote Inputs
Both sides of the interface
Insert Molding FAQ
Ten questions buyers ask first
Request a Quote
Send your insert molding RFQ to Parker
Insert molded parts start with the insert's job
The insert may provide a thread, an electrical path, a bearing surface, a mounting feature or a structural attachment. Define its function before deciding how much of it the plastic should surround.
Show the complete assembly, the insert before molding and the finished part after molding. Mark critical dimensions from functional datums and any area where resin must not enter. If a visible metal surface needs protection, state the appearance or plating limit.

Threaded insert
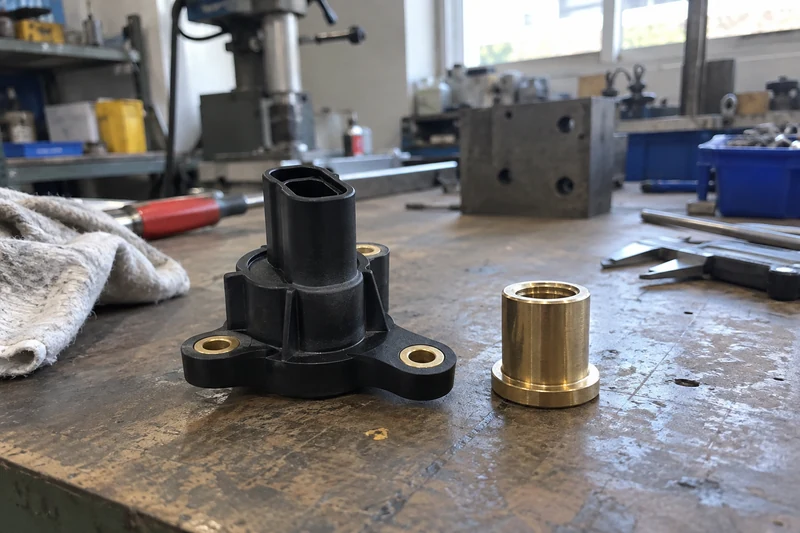
The thread has to stay clear of resin. Mark the thread, its engagement length and the torque it must carry.
Contact or conductor
An electrical contact may need an exposed area. Mark where the metal must stay bare and how continuity is checked.

Load-bearing insert
A mounting or structural insert needs a defined pull or torque requirement in the direction the part is loaded.
This page covers an insert placed in the mold before the shot. A heat-staked nut installed afterward is a separate operation and should be quoted separately. For a part without an insert, see plastic injection molding. If the part is a substrate with a second molded layer rather than a discrete component, that is overmolding.
Next, decide who supplies the inserts.
Insert responsibility, agreed up front
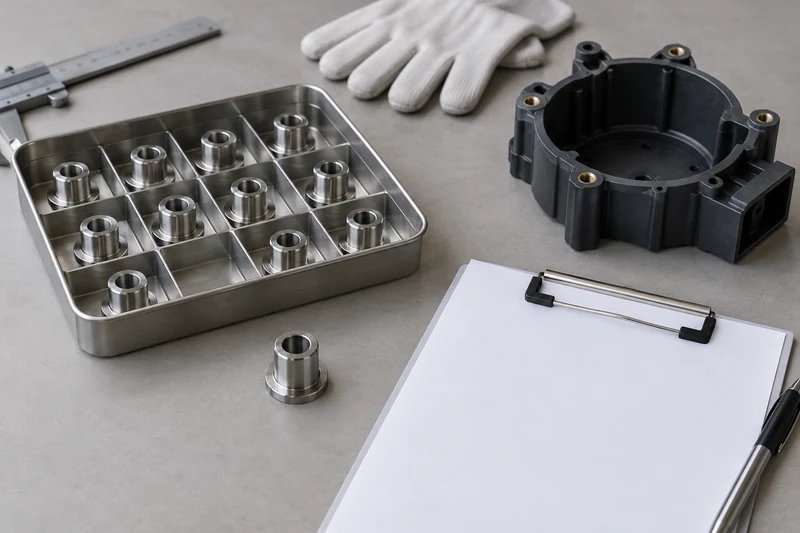
Agree who purchases, inspects, stores and replenishes the inserts. Insert variation becomes part variation, so the supply terms are part of the quality plan.
When you supply the inserts
- Incoming defects and who replaces them.
- Insert yield during trials and production.
- Lot traceability from insert to finished part.
- What happens to unused stock.
When we source them
- The approved insert drawing and material.
- The coating or plating specification.
- Approved substitutions, stated explicitly.
- The incoming plan for dimensions, thread or contact features, plating and cleanliness.
Either way, record how nonconforming lots are isolated and whether rework or replacement is allowed.
Insert geometry that locates and holds
The insert drawing must identify the features that locate it and the surfaces that carry load after molding. A nominal outer diameter alone is rarely enough to design the locator or predict retention.
Locating features
Mark the surfaces the mold locator will use, so the insert is positioned from functional datums.
Load surfaces
Show which surfaces carry load after molding, and in which direction the finished part is loaded.
Retention features
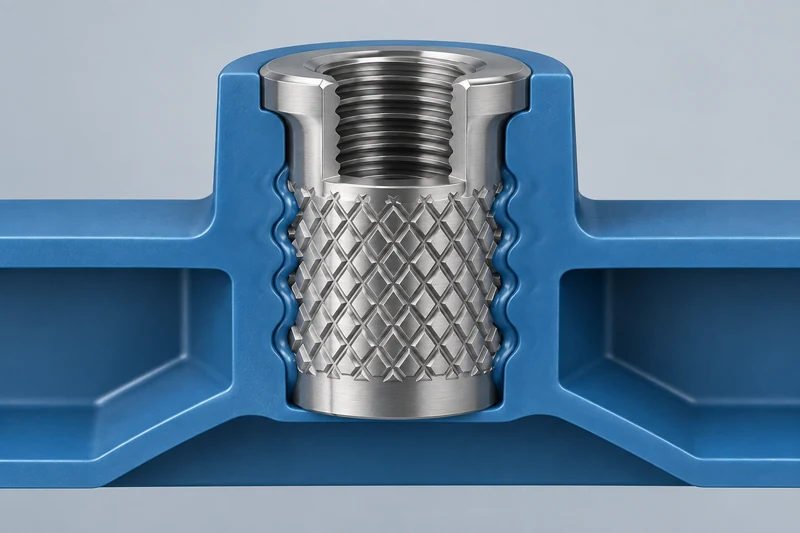
Knurls, grooves, flanges and undercuts improve mechanical retention, but they also affect plastic flow, stress and tool release.
Tolerance against the locator
An insert that can rock, rotate or sit high may pass an outside dimension while its thread or contact is out of position.
Wall around the insert
Check the wall thickness around the insert and the risk of cracking from material shrinkage or service load.
Locate it, then prove it holds
Define the insertion direction, orientation and location datum, then test retention in the direction and mode the application imposes.
Pullout force, torque resistance and repeated loading answer different questions, so name the one your application depends on.
| Item | Define in the RFQ | Why it matters |
|---|---|---|
| Orientation | Insertion direction, orientation, location datum | A symmetrical insert can still have a functional face or plating side |
| Anti-reversal | Keyed feature or locating fixture | Stops the insert being loaded backward |
| Placement | Manual or automated | Chosen once insert, volume and tool layout are known |
| Retention test | Pullout, torque or repeated load | Matches the load the part sees in use |
| Test conditions | Grip fixture, loading rate, conditioning, failure criterion | Ends with a check that the thread or contact still works |
Define in the RFQ Insertion direction, orientation, location datum
Why it matters A symmetrical insert can still have a functional face or plating side
Define in the RFQ Keyed feature or locating fixture
Why it matters Stops the insert being loaded backward
Define in the RFQ Manual or automated
Why it matters Chosen once insert, volume and tool layout are known
Define in the RFQ Pullout, torque or repeated load
Why it matters Matches the load the part sees in use
Define in the RFQ Grip fixture, loading rate, conditioning, failure criterion
Why it matters Ends with a check that the thread or contact still works
Know the load but not the test? Send the part and the load case for review.
Freeze the insert revision before the tool
A small change to a knurl, plating or insert tolerance can change the locator and the validation plan. Send the approved insert drawing now, so the tooling review starts from the part that will actually be loaded.
Tooling that holds the insert
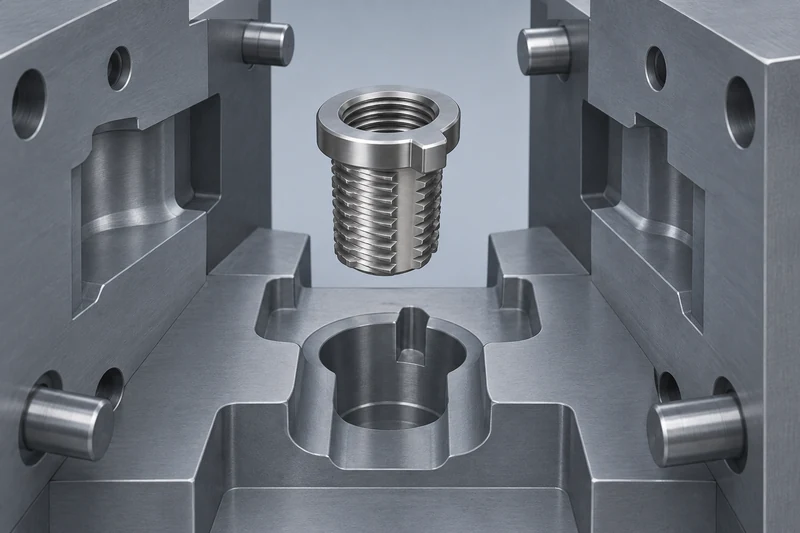
The mold must hold the insert securely through closure and injection while protecting the features that must stay exposed.
We build the mold and run it in our own factory. Your quote states who owns it, how trial samples are approved and which tool documents you receive.

Hold it in place
Review locating pins and shutoffs, so the insert stays seated and its exposed features stay clean.
Catch a wrong load
Agree how a missing or mispositioned insert is detected, and review venting and ejection with it.
Plan for revisions
A change to the supplied insert specification may call for a tool revision, so tie the tool to the insert revision.
Molding production, insert by insert
Control the insert before it reaches the cavity. We load the inserts and mold your part in our own factory, so insert control and part quality stay with one team.

Check before loading
Confirm the correct part number, orientation, surface condition and lot for every insert.
Seat the insert
During molding, confirm that the insert stays seated and resin does not block threads or contact areas.
Watch the heat
If the insert conducts heat or has a sensitive finish, assess what the mold cycle could change.
Separate variants
For multiple insert variants, define separation, identification and line-clearance steps.
Trace to the insert lot
Where the application requires it, finished parts stay traceable to the insert lot.
Inspect the insert interface
Inspect the relationship between the insert and the plastic, not only the external shape. Agree the checks, tests and frequency before trial samples are made.
Which inspection methods and records apply is agreed for your part and stated in the quote.
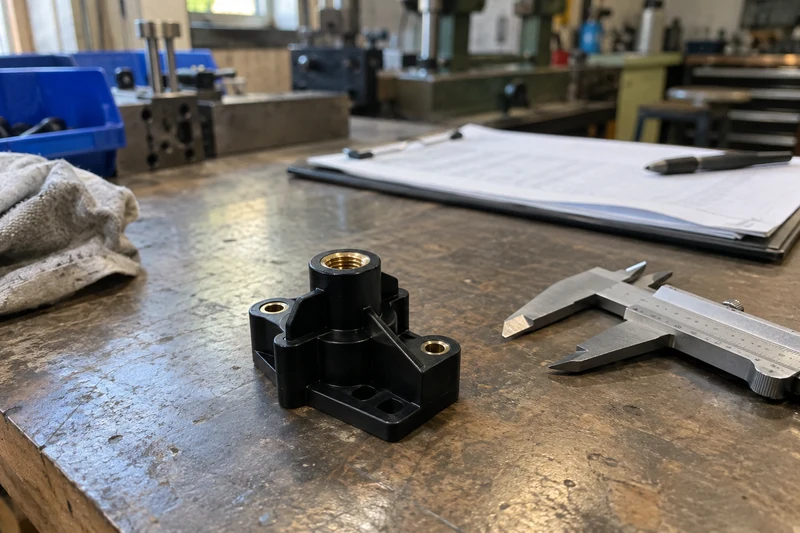
Quote inputs for both sides
Send both sides of the interface, and ask the quote to price insert supply, tooling, molding, inspection and scrap allowance as separate items.
Include in the RFQ
- Plastic part CAD, 2D drawing and assembly context.
- Insert drawing, material, finish, part number and allowed substitutions.
- Resin grade and the requirements for exposed metal or resin-free zones.
- Position, orientation and functional load requirements.
- Insert supply responsibility, batch size, forecast and traceability needs.
- Tool ownership, sample approval, test method and delivery scope.
Ask the quote to separate
- Insert supply.
- Tooling.
- Molding.
- Inspection.
- Scrap allowance.
If the insert is already approved, name the exact revision: a small change to knurl or plating can affect the mold and the validation plan. If the finished part goes into a larger assembly you also want supplied, see assembly.
Quote response within 24 hours for complete drawings.
Insert molding FAQ
Short answers to the questions that come up before an insert-molded part is quoted.
Is a heat-staked nut installed after molding an insert-molded part?
No. Insert molding places the nut in the cavity before resin is injected. Heat staking is a post-mold assembly operation with different tooling and acceptance criteria; describe it separately in the RFQ.
How should supplied insert lots and plating be checked?
Provide the approved insert drawing, finish specification and lot identifier. Agree which incoming characteristics are measured and how rejected or damaged inserts are segregated and replaced.
What information prevents an insert from being placed backward?
Mark the functional face, insertion direction and orientation datum on the drawing. A keyed shape or locating fixture may help; verify the chosen method during trials.
How should pullout force and torque be specified?
State the load direction, fixture, rate, conditioning, pass criterion and whether the test is destructive. The threshold must come from the application, not from a generic process claim.
Can injection heat affect a metal insert?
Yes. The insert can conduct heat to a sensitive coating, contact or attached component. Review the material and finish, then test representative parts if the end use carries that risk.
How do insert tolerances affect mold location?
Variation in the surfaces used for locating can shift or tilt the insert. Compare the insert tolerance stack with the finished-part position requirement and design the locator around functional datums.
Why can plastic crack around an insert?
Local wall thickness, sharp geometry, shrinkage restraint and service loading can create stress. A design review and representative trials identify the relevant cause for a particular part.
Can the drawing prohibit flash near the insert?
Yes. Mark resin-free and flash-critical zones, particularly on threads, contacts and sealing faces. Define how those zones are inspected and what rework, if any, is allowed.
How can mixed inserts be prevented in short runs?
Use clear part identification, separated stock, controlled changeovers and a first-off check for each variant. The controls needed depend on the number of variants and the consequence of a mix-up.
Does every finished part need electrical or functional testing?
Only a project-specific requirement can set that frequency. Define the function, risk, test method and acceptance plan, then agree whether the test applies to each piece, a sample or a lot.
Request an insert molding quote
Send the plastic part and the insert, and tell us how the insert is loaded in use. Parker reviews both and replies with questions or a quote.

Parker
Your Insert Molding Contact, HONGYI
I'm Parker. Send me the plastic CAD, the insert specification, resin, position tolerance, expected quantity and the pull, torque or electrical test you need.
Tell me whether you supply the inserts or want us to source them, whether any tooling already exists, and whether the deliverable is the finished part or a broader assembly.
- Reply within 24 hours
- In-house production
- Drawings kept confidential